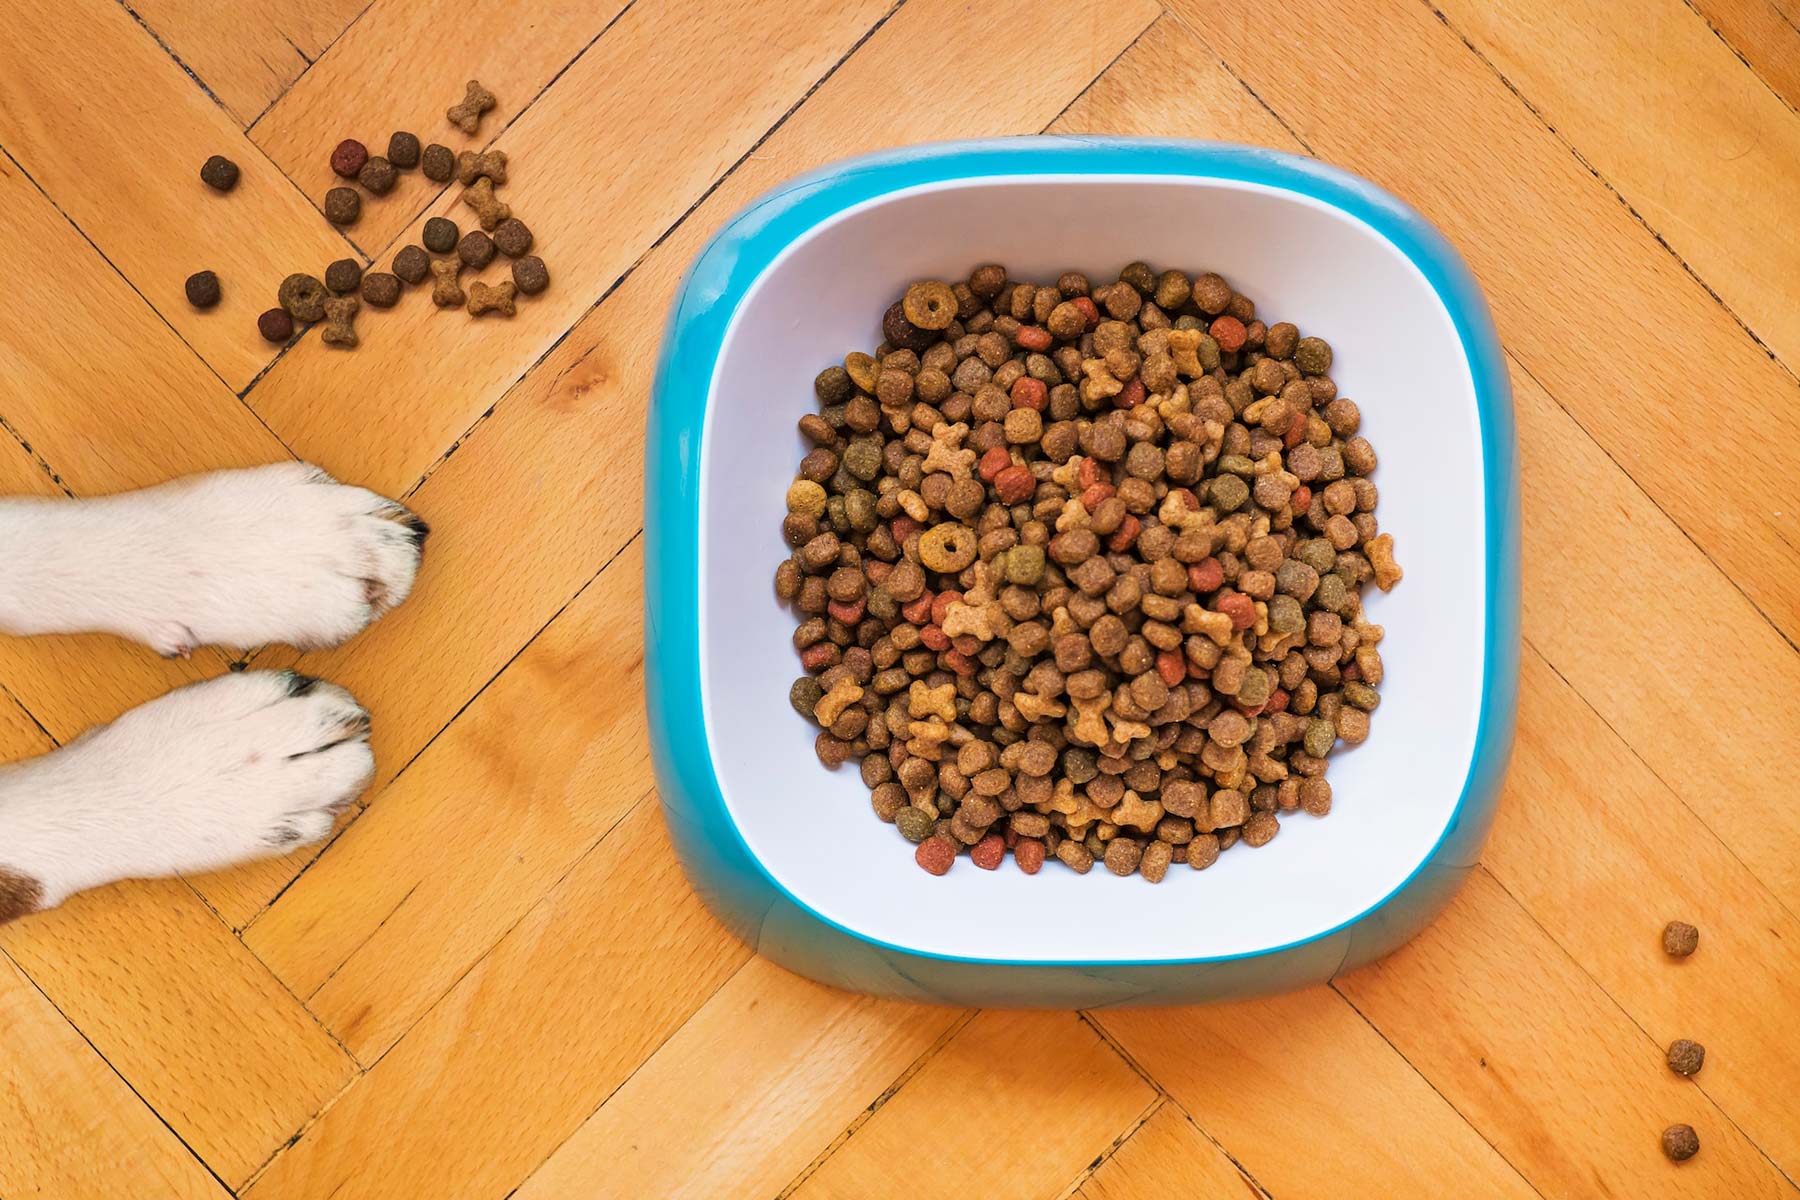
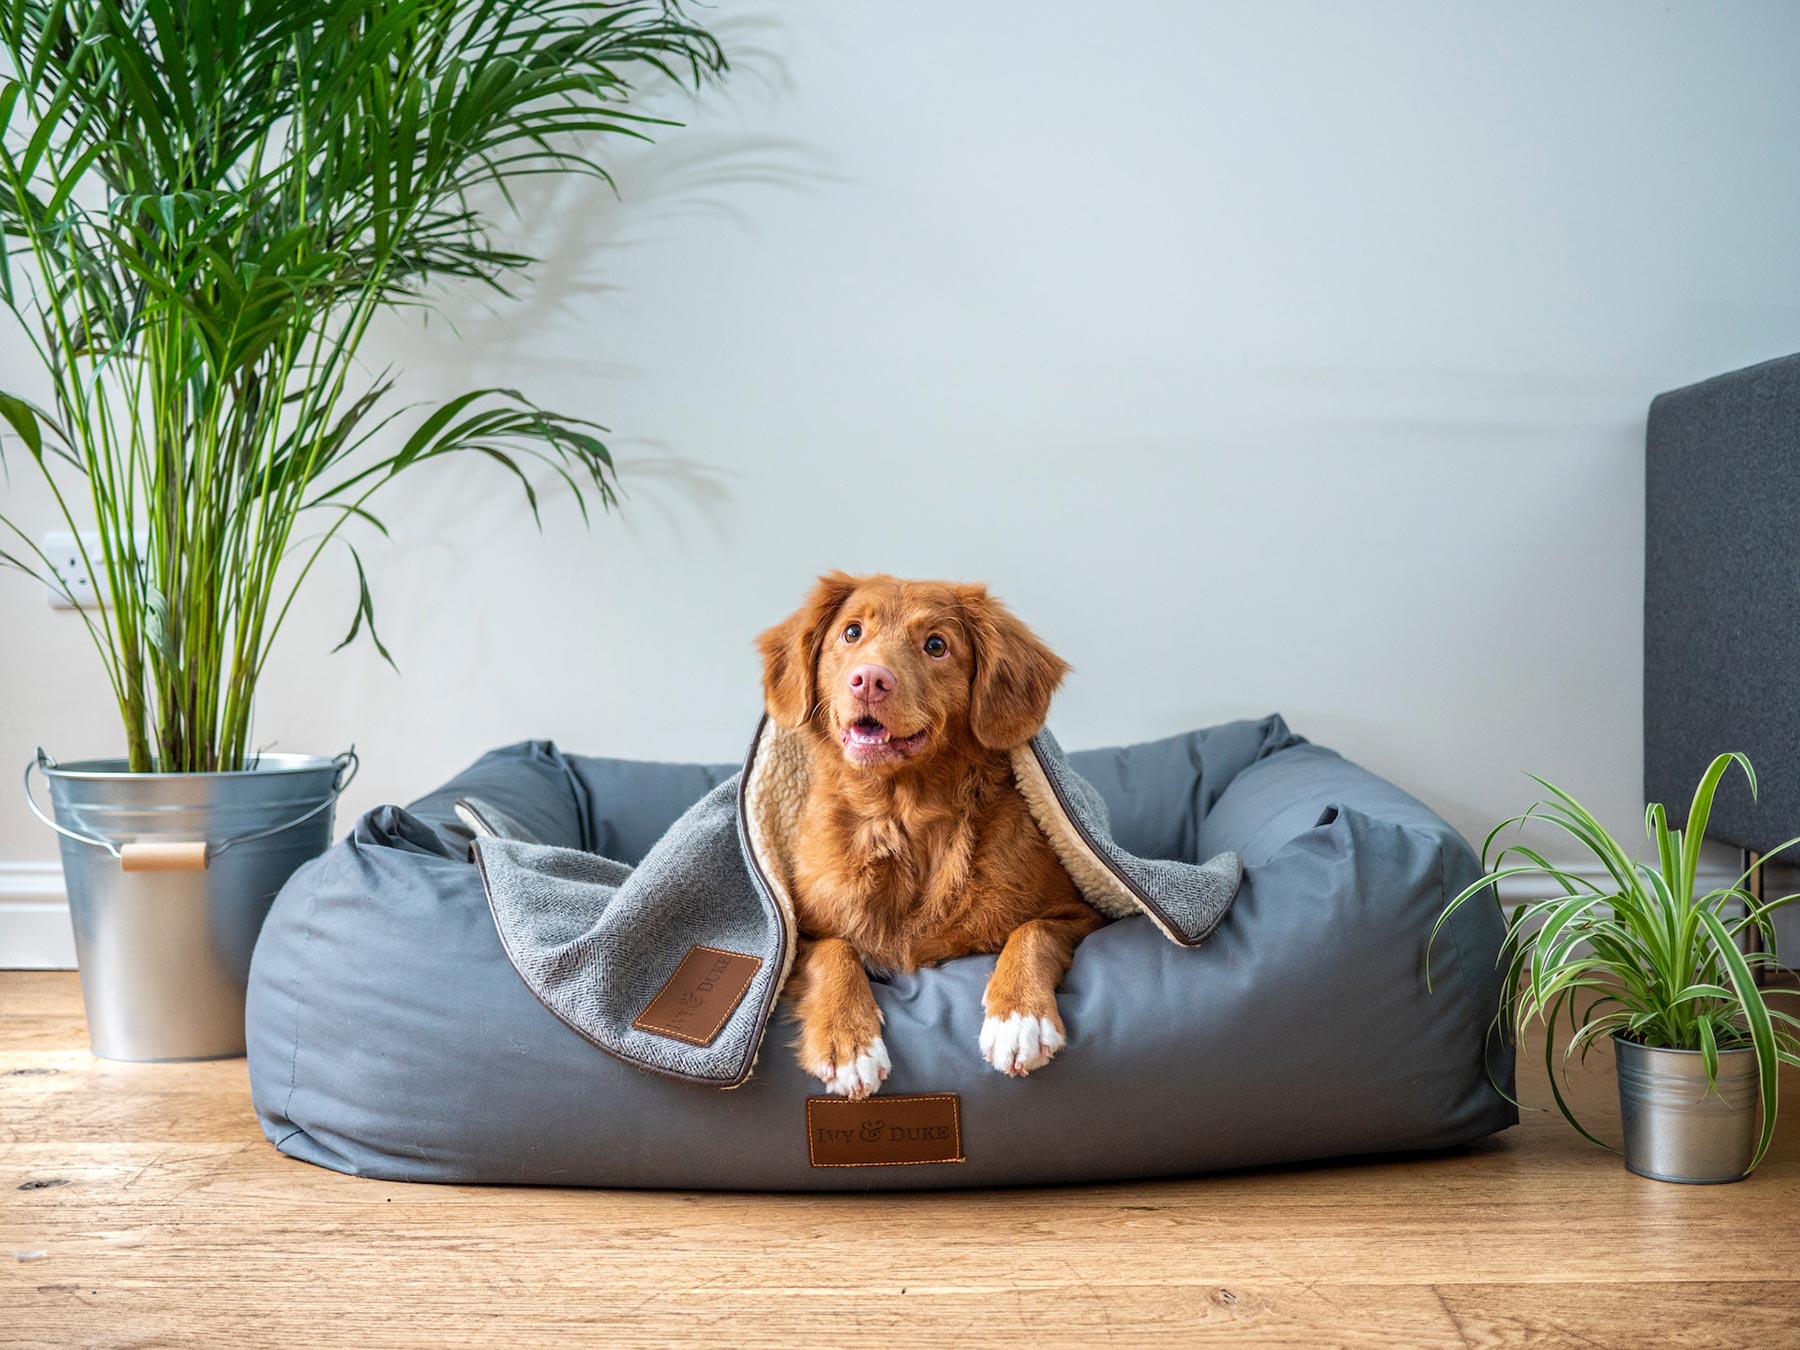
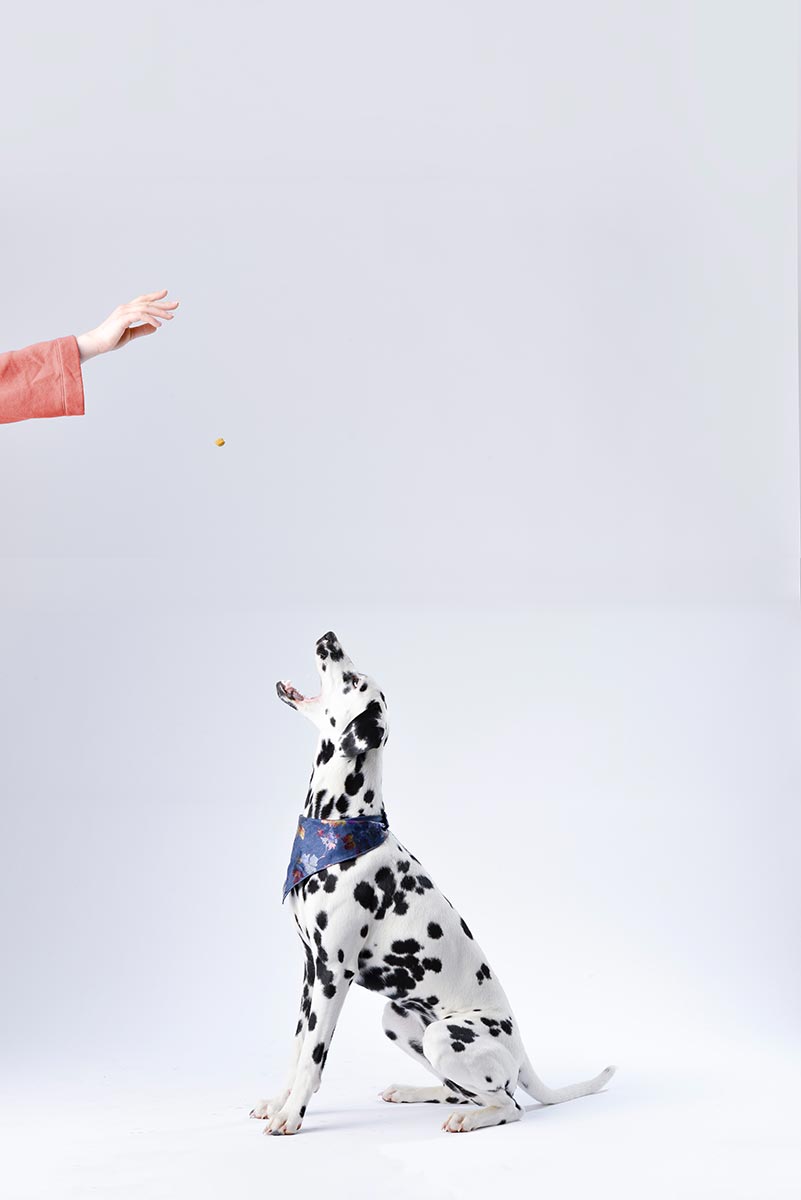
Revolutionize Mealtime: Best Dog Food for a Happy, Healthy Pup Gallery Revolutionize Mealtime: Best Dog Food for a Happy, Healthy Pup Read More
Unleashing Knowledge and Joy: Exploring the World of Pet and Dog-Related Podcasts Gallery Unleashing Knowledge and Joy: Exploring the World of Pet and Dog-Related Podcasts Read More
How to be Environmentally Aware While Owning a Dog Gallery How to be Environmentally Aware While Owning a Dog Read More
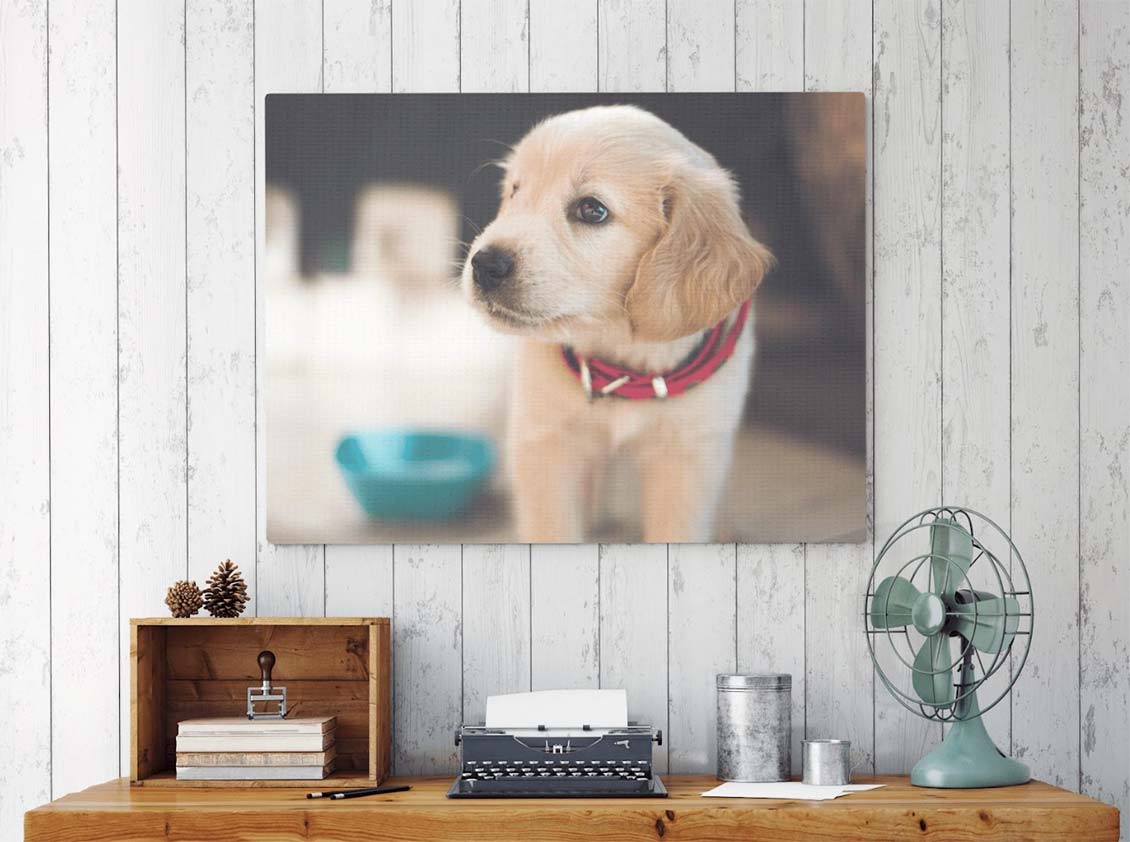
Printed Pet Love: Capturing Perfection in Photos Gallery Printed Pet Love: Capturing Perfection in Photos Read More
How Much Does It Cost To Own A Pet? Try Our Pet Costs Calculator Gallery How Much Does It Cost To Own A Pet? Try Our Pet Costs Calculator Read More
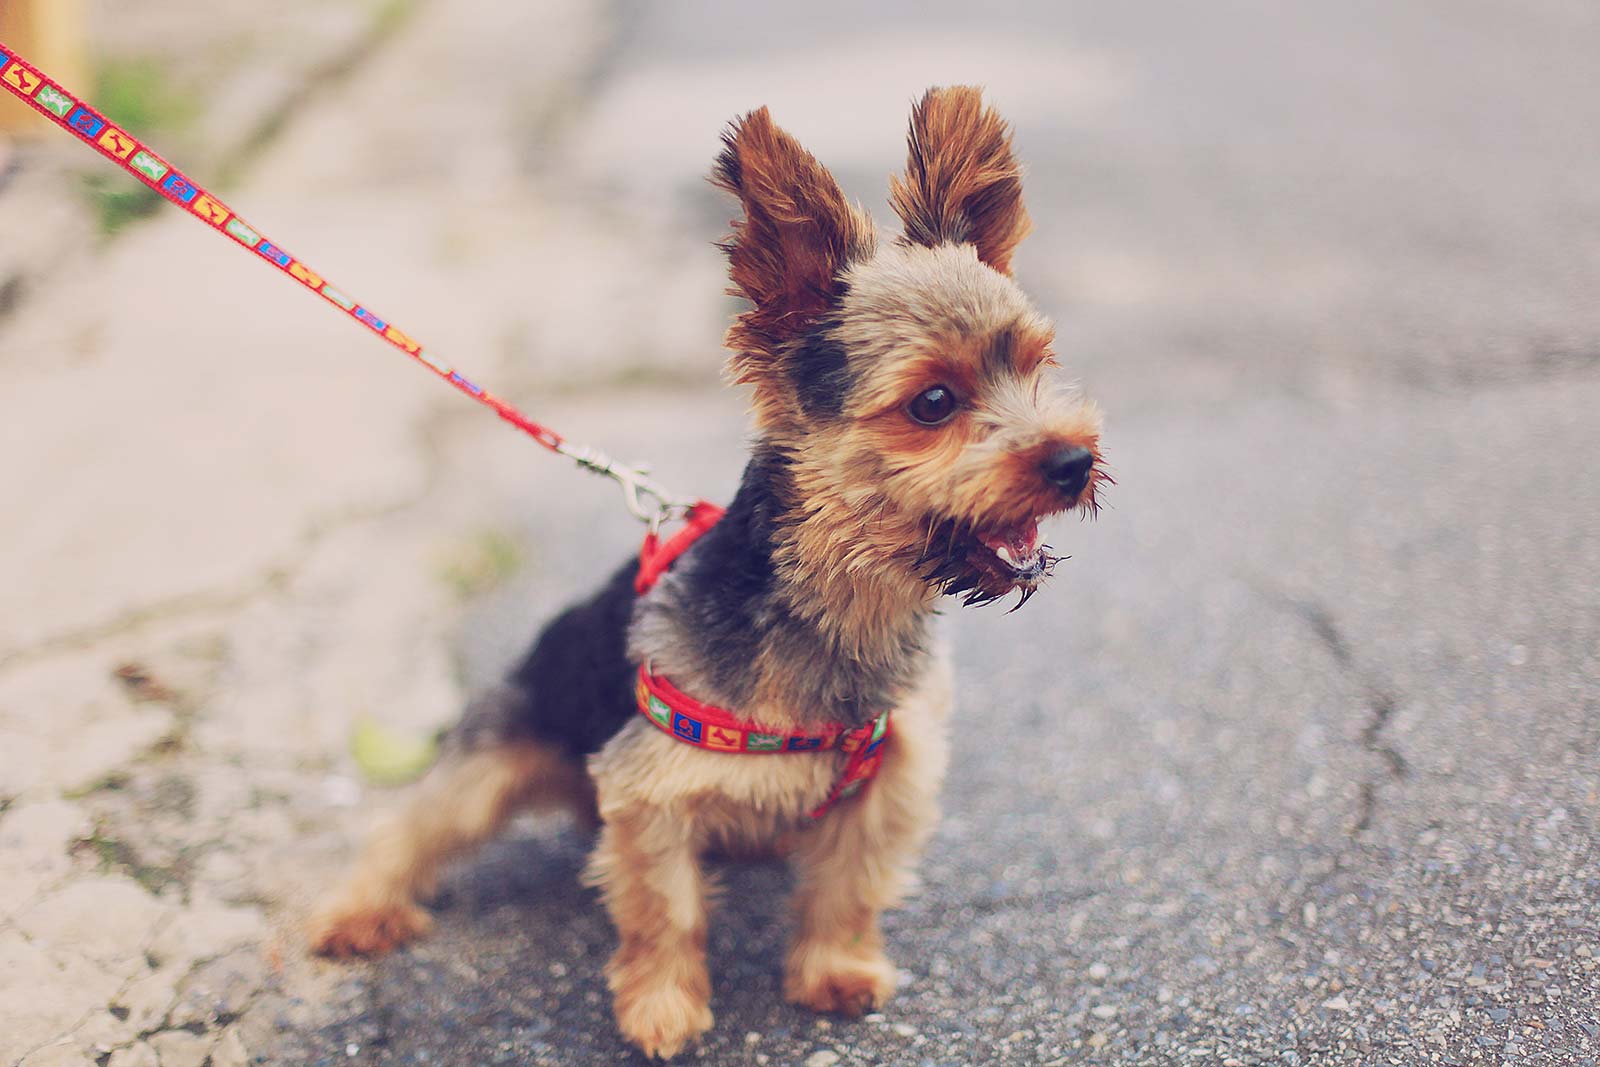
7 Tips for How to Have a Calm Walk with an Anxious or Hyper Dog Gallery 7 Tips for How to Have a Calm Walk with an Anxious or Hyper Dog Read More
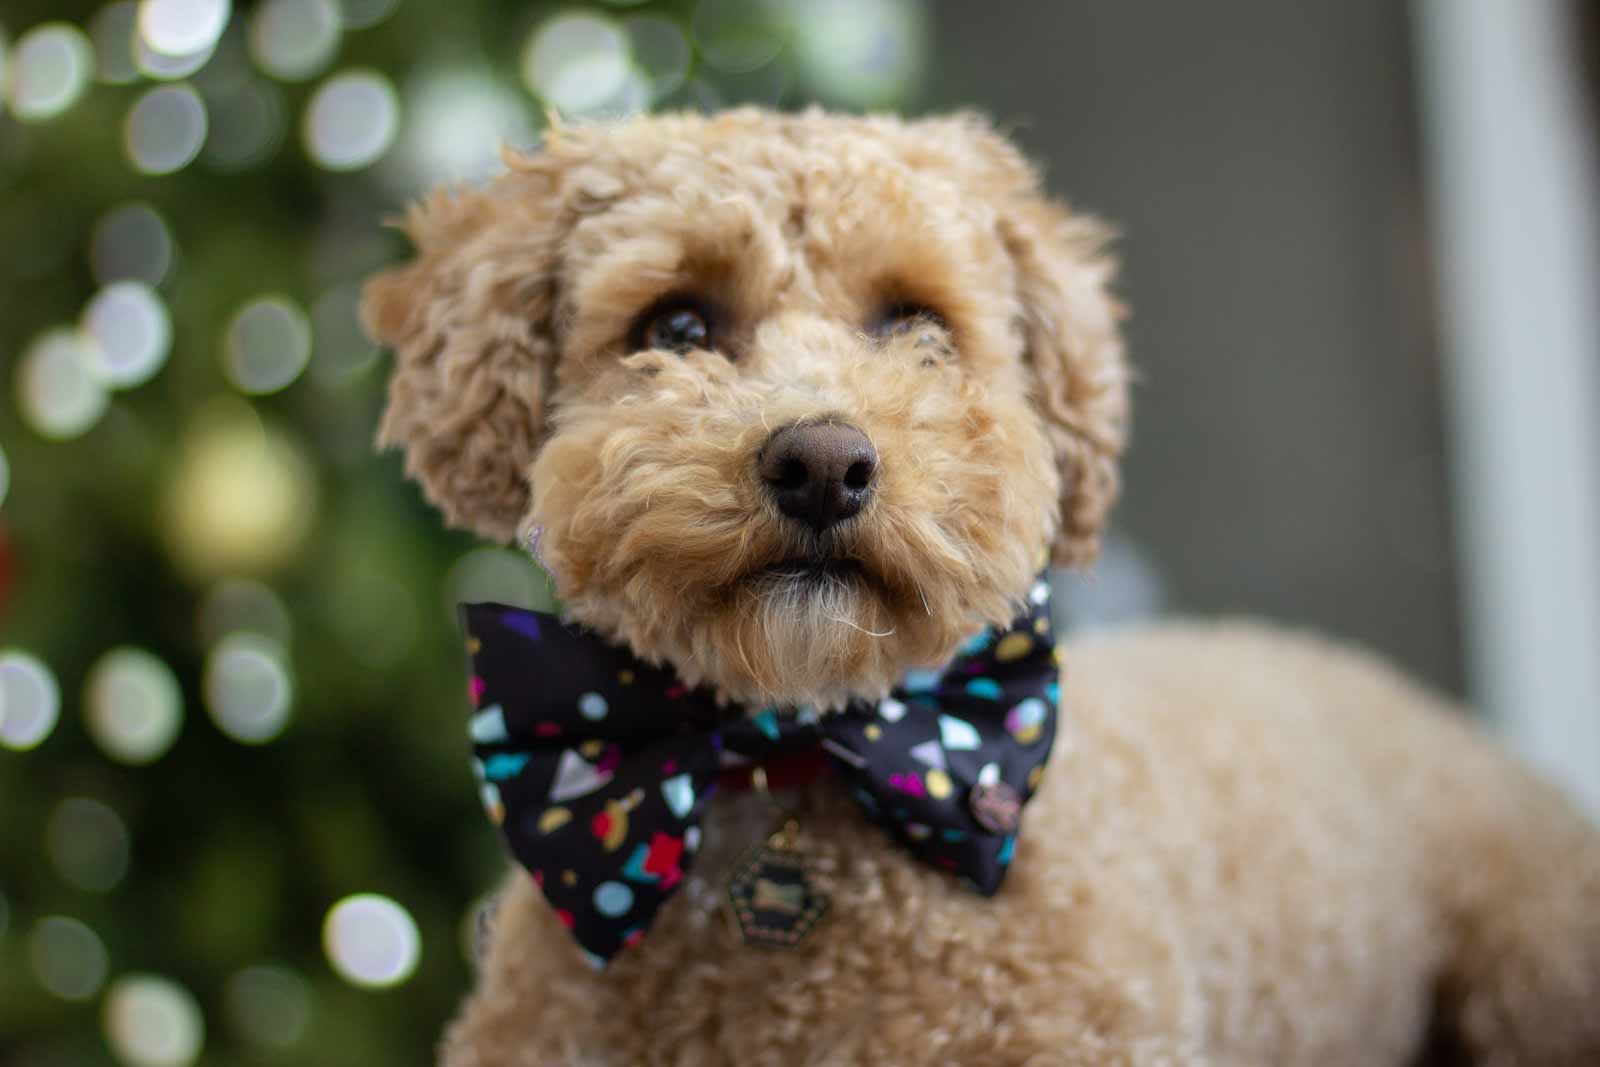
5 Newest Trends in Pet Fashion You Should Be Part Of Gallery 5 Newest Trends in Pet Fashion You Should Be Part Of Read More
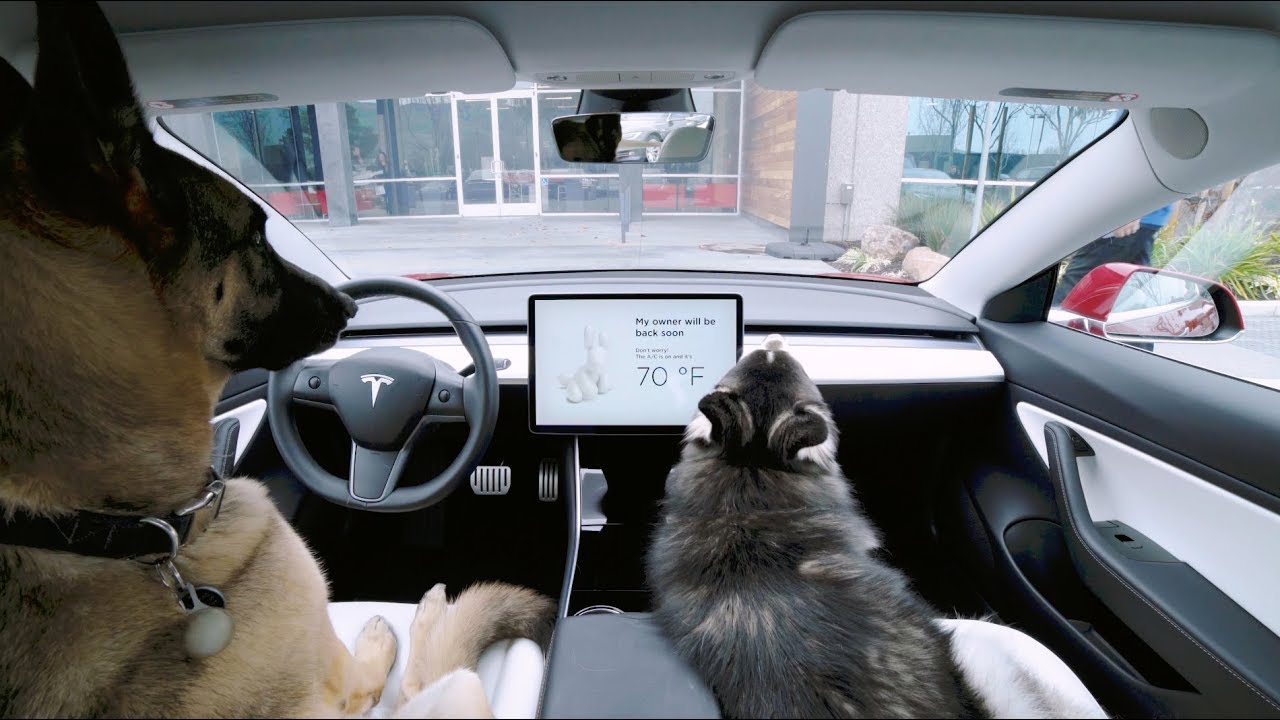
Tesla’s Dog Mode: How It Works & Why Every Pet Owner Needs It? Gallery Tesla’s Dog Mode: How It Works & Why Every Pet Owner Needs It? Read More
How to discover your dog’s breed heritage with DNA tests Gallery How to discover your dog’s breed heritage with DNA tests Read More
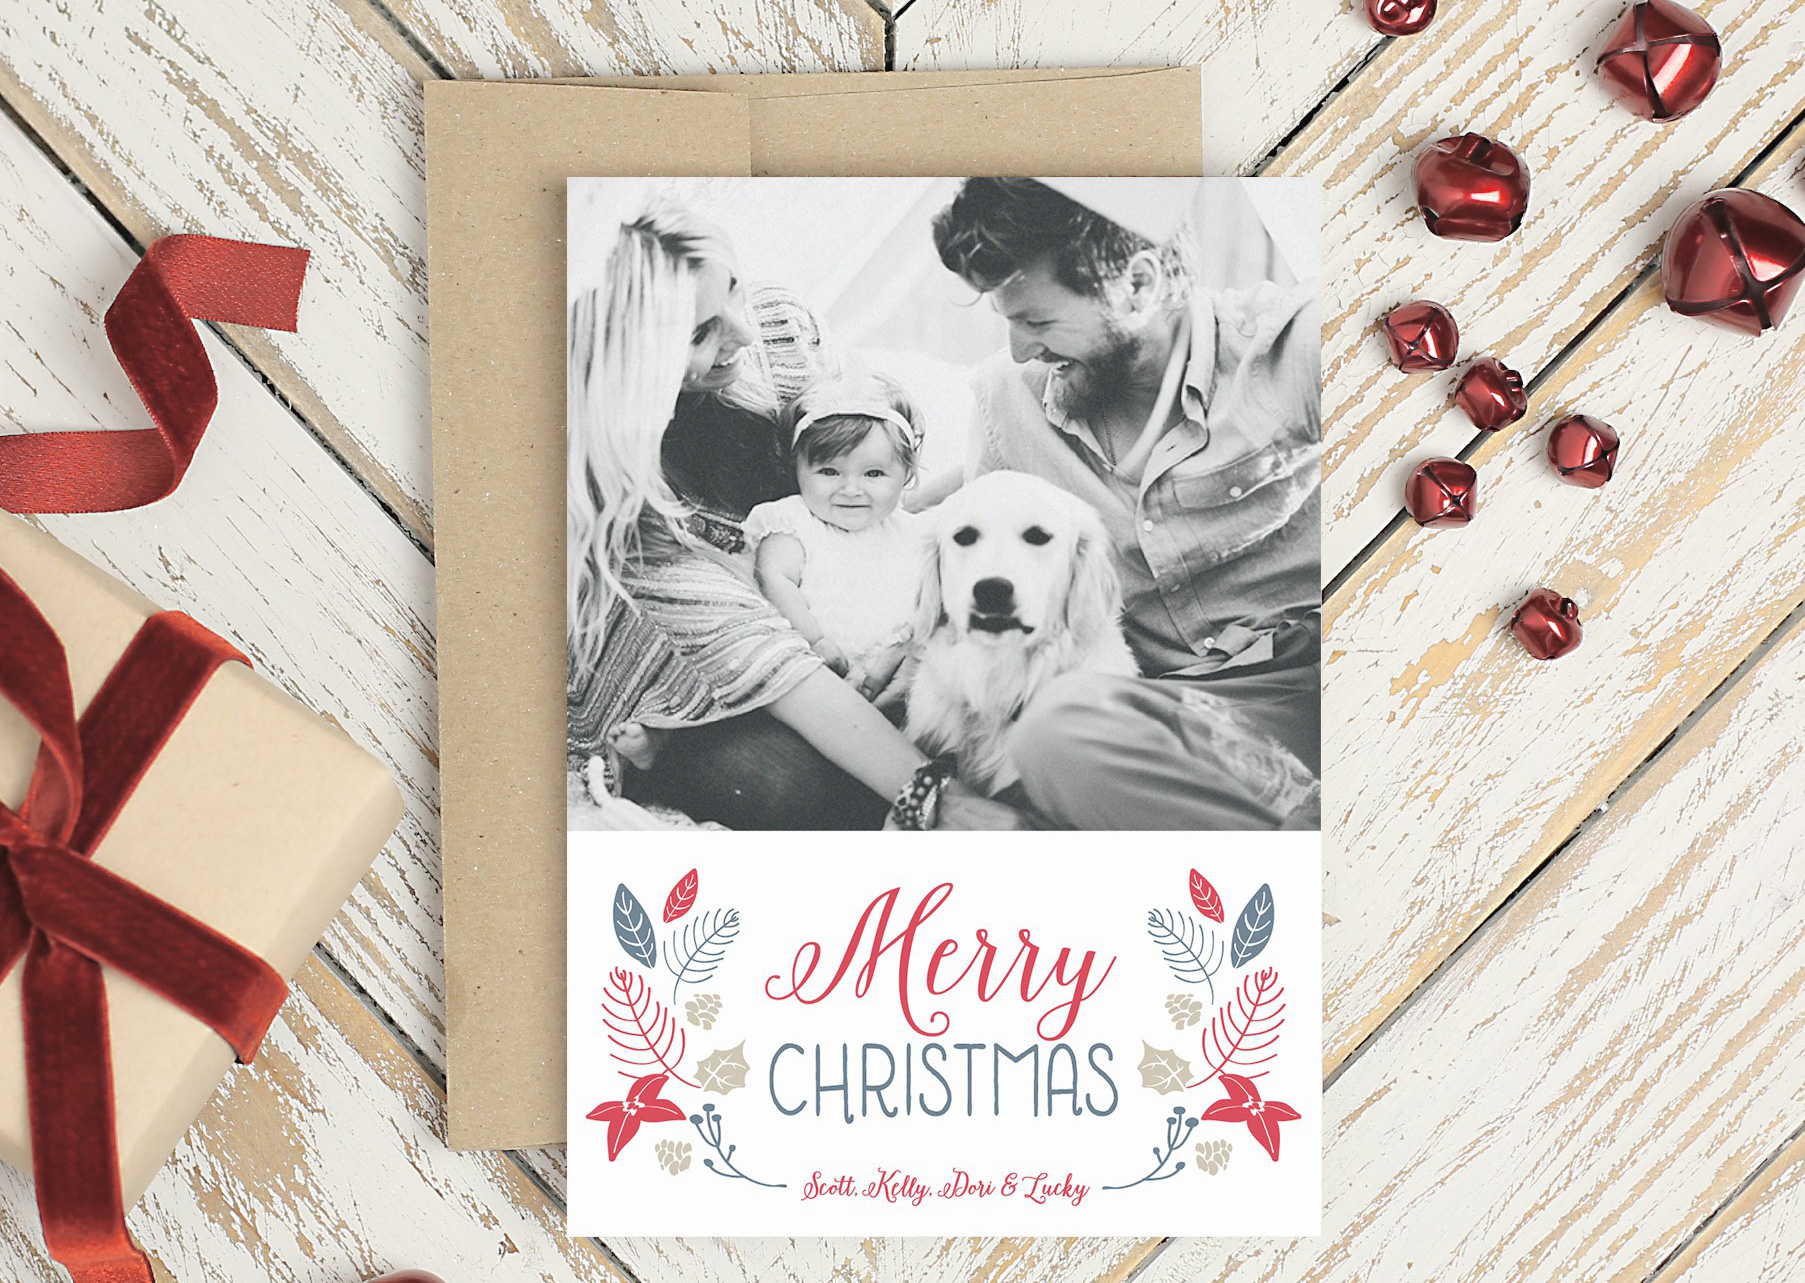
How To Include Your Pet In Your Annual Christmas Card Gallery How To Include Your Pet In Your Annual Christmas Card Read More
4 Best Pet Video Games That You Should Check Out! Gallery 4 Best Pet Video Games That You Should Check Out! Read More
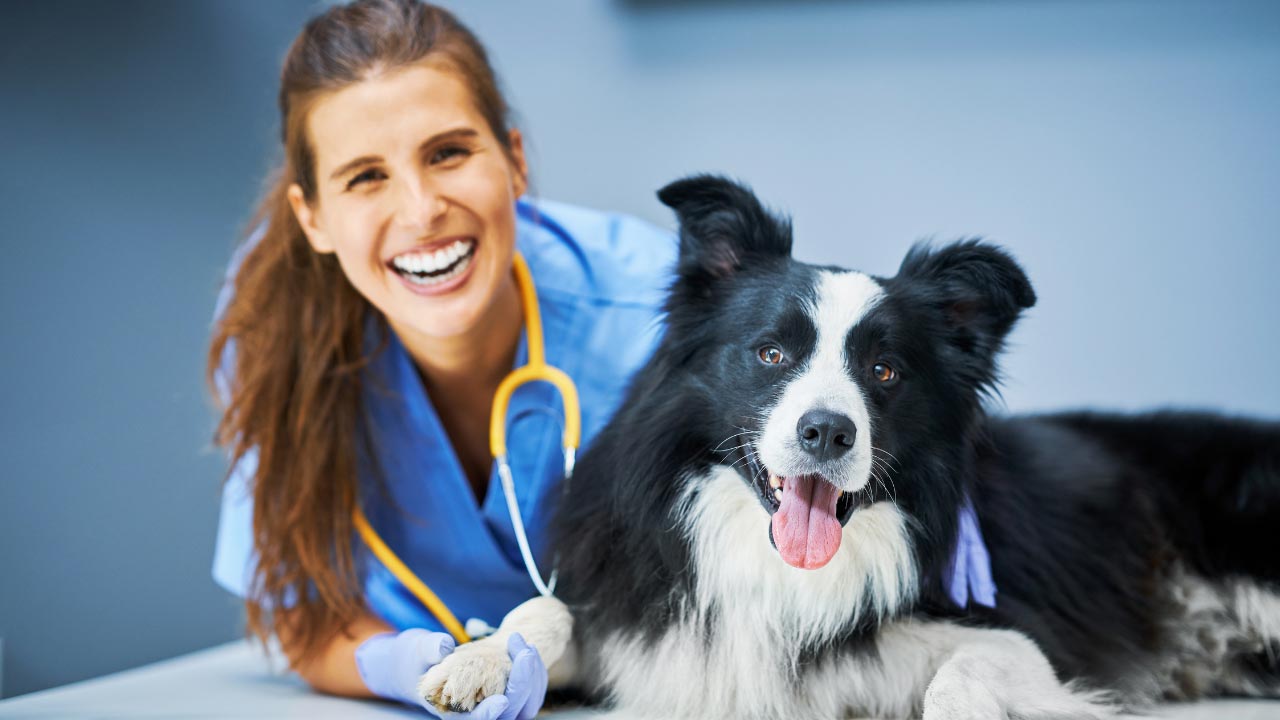
7 Ways To Keep Your Pet Healthy And Happy! Gallery 7 Ways To Keep Your Pet Healthy And Happy! Read More